A few days in Osaka and Kyoto, a detour to Shenzhen: how one Asia eSIM carried me through

A street crossing in Umeda, Osaka, near Hankyu department store
Last month I planned a trip: a few days wandering around Osaka and Kyoto, then a detour to Shenzhen for two nights before heading home. For a mixed itinerary like Japan plus mainland China, one Asia plan that covers the whole region is the easiest option. You don't need one eSIM for Japan and another for the mainland, and you don't have to fumble with swapping cards.
That said, first-time eSIM users tend to get stuck in a few places. I've written down the pitfalls I ran into, for anyone trying it for the first time.
Before you leave: install the eSIM, but don't turn it on yet
It's best to install an eSIM at home or at the office on stable Wi-Fi, not on your way out the door or once you're at the airport. If the signal is shaky, a scan that fails halfway is an awkward start. If you don't have Wi-Fi handy, borrowing another phone's hotspot works too, as long as the connection is stable.
There are two ways to install: point the camera at the QR code from RoamMelb, or on iPhone go to Settings > Mobile > Add eSIM and enter the details yourself.
Here's something many people get wrong: a successful scan doesn't mean the card is switched on. After installation the eSIM is off by default. You have to go into your phone settings and turn this card on yourself.
After landing: it only counts as "activated" once it connects
When you turn the card on in Osaka, the internet won't appear instantly. There's a registration step where the card connects to the local network, which usually takes under a minute. Don't panic, grab a drink and wait. The signal may show 3G at first and jump to 4G/5G a little later. That's normal, not a faulty card.
The real "activation" starts from the first moment you successfully connect to a local network after landing, not from when you bought or installed the card. That's different from what most people assume, so it's worth a reminder.
Two switches you must remember
This is where mistakes, and unnecessary costs, happen most often:
- Turn Data Roaming ON for this eSIM. If it's off, the card won't work at all.
- Turn Data Roaming OFF, and turn off automatic network switching, for your original physical main SIM. If you don't, your main SIM can go into international roaming overseas, and the bill back home could be a nasty shock.
In short: roaming on for the eSIM, roaming off for the main SIM. Do both together, because missing either one can leave you paying on both sides.
How do I check how much data I have left?
RoamMelb doesn't ship a separate app for checking usage. That isn't laziness: the cost of building and maintaining an app is passed back into the plan price, so customers get the same service for less. Your phone's built-in features are all you need:
- After installing the card, rename the eSIM. I usually rename it to that day's date, for example "0915", so I can tell at a glance when I bought it and roughly when it will run out, without digging through my purchase history.
- On iPhone, go to Settings > Mobile and scroll to the very bottom, where you'll find Reset Statistics. Tap it when the card is installed and you're about to start using it, and the count starts from zero. You can also see which app is using the most data.
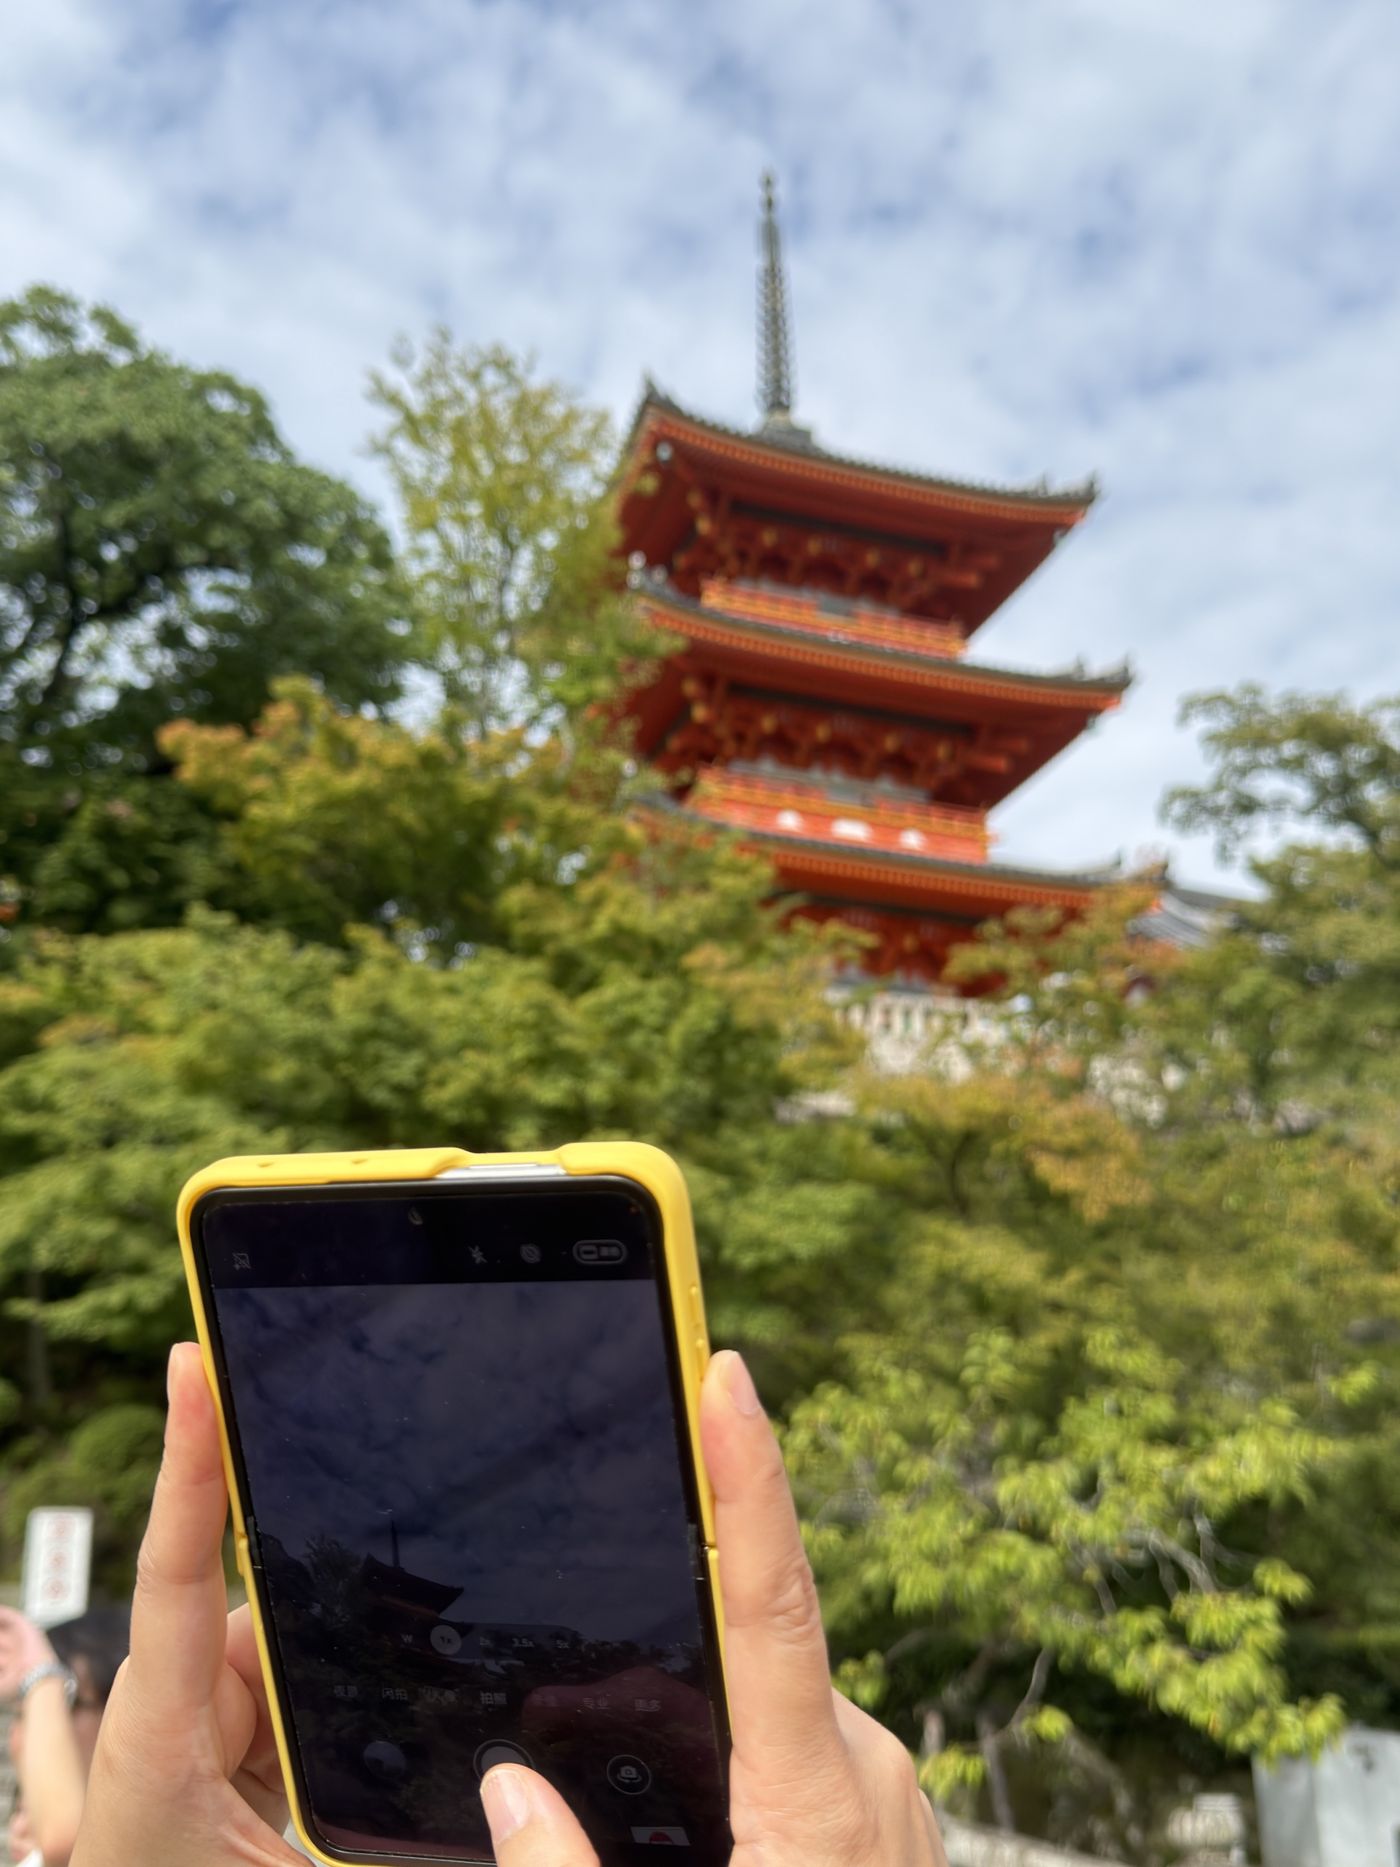
The whole routine takes under five minutes, but if you don't know it beforehand, it's easy to fumble at the airport or somewhere unfamiliar. I hope this helps anyone who, like me, likes mixing Japan and mainland China in one trip.
For eSIM plans covering Japan, Hong Kong, mainland China and other Asian destinations, see what's currently available in the RoamMelb shop, or read the FAQ first.